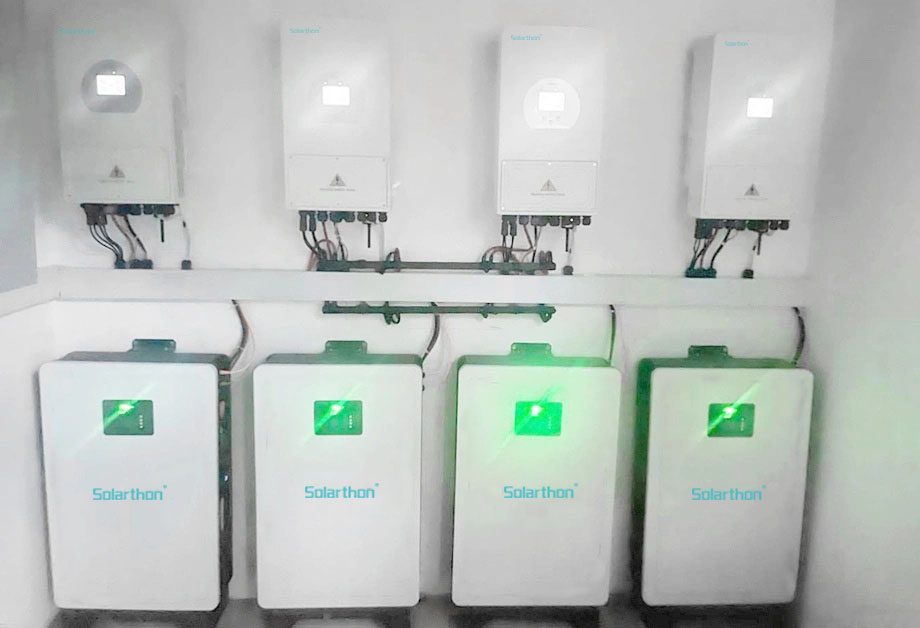
 Thinking about harnessing the sun's power? A solar energy system is a fantastic investment for your home and the planet. At the heart of this system is the solar inverter—the clever device that converts the direct current (DC) from your panels into the usable alternating current (AC) for your home.
This guide walks you through the key steps of installing solar inverter.
The 6-Step Solar Inverter Installation Process
Step 1: Choose the Optimal Location
Selecting the right spot is crucial for performance and longevity.
Environment: Install in a cool, dry, well-ventilated area. Avoid direct sunlight, attics without ventilation, or damp basements.
Accessibility: Choose a location close to your main service panel and your solar panels to minimize costly cable runs and power loss.
Practicality: Ensure the wall is strong enough to support the inverter's weight.
Step 2: Mount the Inverter Securely
Hold the inverter's mounting bracket against the wall in your chosen location. Use a level to ensure it is perfectly straight.
Mark the drilling points, drill pilot holes, and secure the bracket firmly to the wall using the appropriate screws and anchors.
Carefully lift and hang the inverter onto the mounted bracket.
Step 3: Connect the DC Input (From Solar Panels)
SHUT DOWN THE SYSTEM. Turn off the DC disconnect switch (if available) and ensure the solar panels are completely de-energized by covering them with a light-resistant cloth if possible.
Step 4: Connect the AC Output
The electrician will run a conduit from your main service panel to the inverter.
They will connect the AC output wires from the inverter to this new breaker and properly ground the entire system according to national and local electrical codes.
Step 5: Grounding and Final System Check
Your electrician will ensure the inverter's grounding terminal is connected to your home's grounding electrode system.
Before powering on, perform a final visual inspection: Are all connections tight? Is the wiring secure and free of damage? Is the area around the inverter clear?
Step 6: Power On and Monitor
The startup sequence is vital. Your installer will typically: Turn on the AC breaker at the main panel first, then turn on the DC disconnect switch.
The inverter will go through a self-test sequence. LEDs will indicate its status (e.g., Standby, Operating, Fault).
Connect to the inverter’s monitoring software via Wi-Fi or Ethernet to track your energy production and savings in real-time.
solar energy system,solar inverter,installing solar inverter,solar panels,solar panels
solar energy system,solar inverter,installing solar inverter,solar panels,solar panels
solar energy system,solar inverter,installing solar inverter,solar panels
