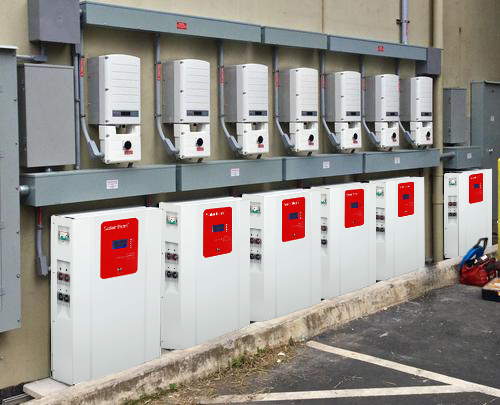
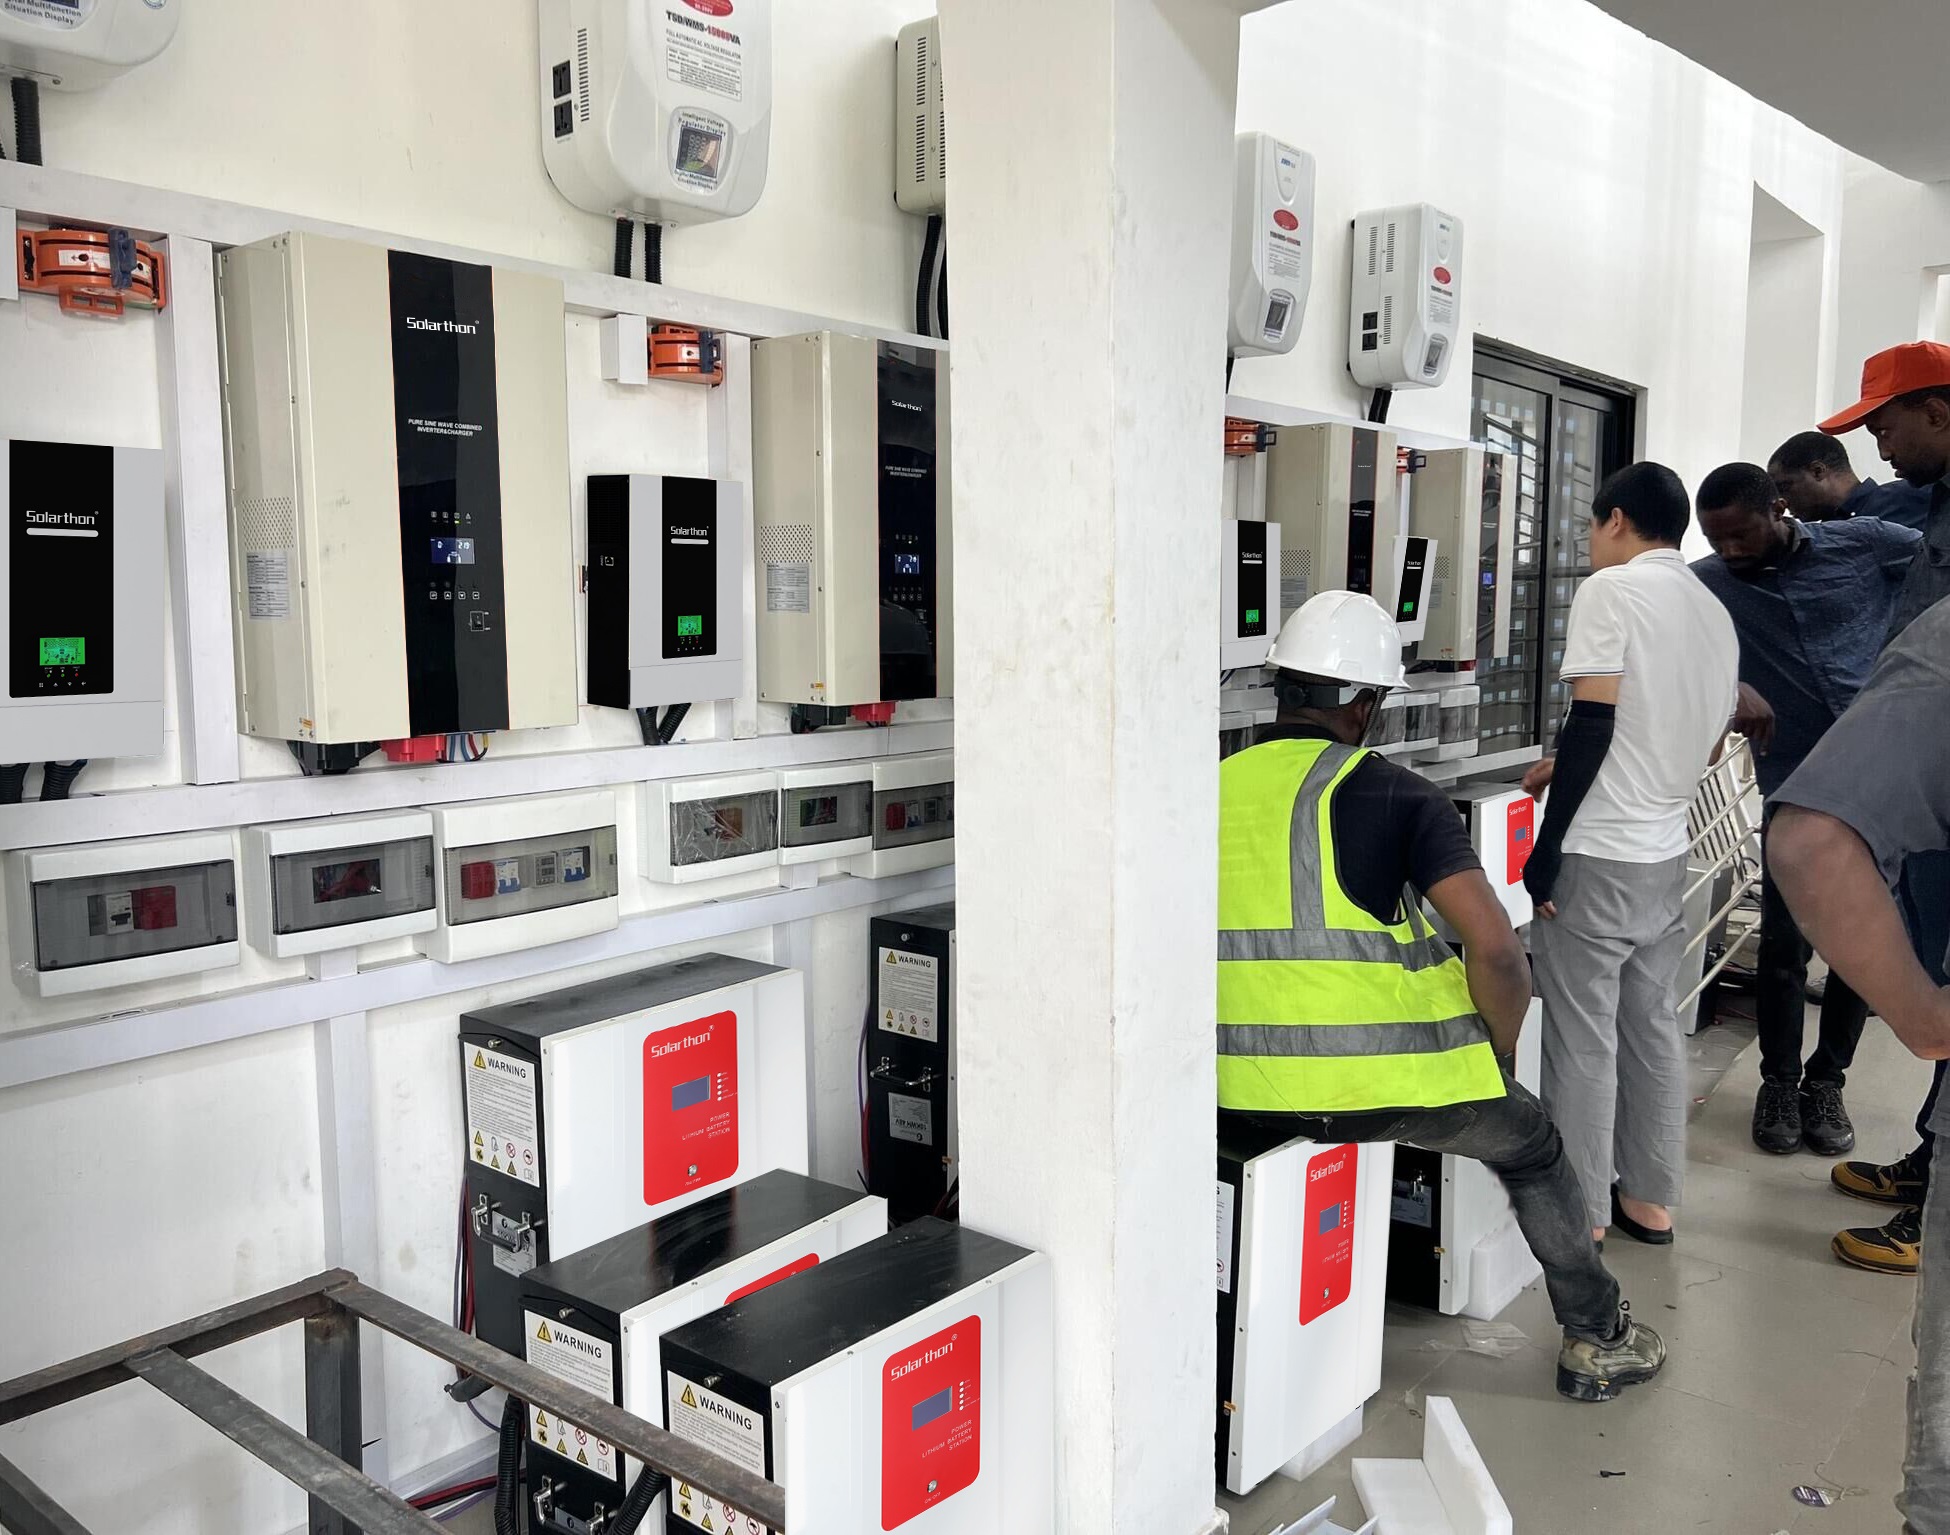
A solar inverter is a vital component of any solar power system, converting the direct current (DC) generated by solar panels into alternating current (AC) for use in homes, businesses, or the grid. Ensuring that your solar inverter is functioning correctly is crucial for maximizing energy production, maintaining system efficiency, and preventing potential issues.This article guide provides step-by-step instructions on how to test a solar inverter, covering both basic and advanced testing methods.

1. Safety First
Before testing your solar inverter, prioritize safety to avoid accidents or damage to the system:
Turn Off the System: Disconnect the solar inverter from the grid and shut down the solar panels to ensure no power is flowing during testing.
Wear Protective Gear: Use insulated gloves, safety glasses, and appropriate clothing to protect yourself from electrical hazards.
Follow Manufacturer Guidelines: Refer to the inverter’s user manual for specific safety instructions and warnings.
2. Visual Inspection
Start with a thorough visual inspection to identify any obvious issues:
Check for Physical Damage: Look for cracks, burns, or discoloration on the inverter casing, wiring, or connectors.
Inspect Wiring and Connections: Ensure all cables are securely connected and free from corrosion or wear.
Verify Ventilation: Make sure the inverter is installed in a well-ventilated area and that cooling fans (if present) are unobstructed.
3. Basic Electrical Tests
Perform basic electrical tests to verify the inverter’s functionality:
DC Input Voltage: Use a multimeter to measure the DC voltage at the inverter’s input terminals. Compare the reading with the expected voltage from your solar panels.
AC Output Voltage: Measure the AC voltage at the inverter’s output terminals. It should match the standard voltage for your region (e.g., 120V or 230V).
Frequency Check: Use a frequency meter to ensure the inverter’s output frequency matches the grid requirement (typically 50Hz or 60Hz).
4. Performance Testing
Evaluate the inverter’s performance under normal operating conditions:
Power Output: Use a clamp meter to measure the current and calculate the power output (P = V x I). Compare this with the inverter’s rated capacity.
Efficiency Check: Monitor the inverter’s efficiency by comparing the DC input power (from the solar panels) with the AC output power. High-quality inverters typically have efficiencies above 95%.
Maximum Power Point Tracking (MPPT): Verify that the inverter is correctly tracking the maximum power point of the solar panels by observing fluctuations in power output under varying sunlight conditions.
5. Advanced Diagnostic Tests
For a more in-depth analysis, conduct advanced diagnostic tests:
Insulation Resistance Test: Use an insulation resistance tester to check for leakage currents or insulation faults in the wiring.
Thermal Imaging: Perform a thermal scan of the inverter to identify hotspots or overheating components, which may indicate internal issues.
6. Monitoring System Data
If your inverter is equipped with a monitoring system, use it to gather performance data:
Energy Production: Check the inverter’s energy production logs to ensure it is generating the expected amount of power.
Error Codes: Review any error codes or alerts generated by the solar inverter system to identify potential issues.
Historical Data: Analyze historical performance data to detect trends or anomalies that may require attention.
7. Troubleshooting Common Issues
If testing reveals problems, follow these troubleshooting steps:
No Power Output: Check the DC input voltage, fuses, and circuit breakers. Ensure the inverter is properly connected and powered on.
Low Efficiency: Inspect the solar panels for shading or dirt, and verify the inverter’s MPPT functionality.
Overheating: Ensure proper ventilation and check for blocked cooling fans or excessive ambient temperatures.
Error Codes: Refer to the inverter’s user manual to interpret error codes and take appropriate corrective actions.
8. Regular Maintenance and Testing
To ensure long-term reliability, incorporate regular testing and maintenance into your routine:
Scheduled Inspections: Perform visual and electrical tests at least once every six months.
Firmware Updates: Keep the inverter’s firmware up to date to benefit from performance improvements and bug fixes.
Professional Servicing: For complex issues or advanced diagnostics, consider hiring a certified technician.
All in All,Regularly testing your RANKTOP inverter is an essential aspect of maintaining a reliable and efficient solar energy system. By following the steps outlined in this guide, you can identify and address issues early, maximize energy production, and ensure the safety of your system. Remember to consult the manufacturer’s resources and, when in doubt, seek professional assistance. With proper testing and maintenance, your RANKTOP inverter will continue to serve you well, reducing your energy costs and your environmental footprint.
solar power system,solar energy system,solar panels,solar inverter system
solar power system,solar energy system,solar panels,solar inverter system
solar power system,solar energy system,solar panels,solar inverter system
solar power system,solar energy system,solar panels,solar inverter system
solar power system,solar energy system,solar panels,solar inverter system
solar power system,solar energy system,solar panels,solar inverter system
solar power system,solar energy system,solar panels,solar inverter system
solar power system,solar energy system,solar panels,solar inverter system
solar power system,solar energy system,solar panels,solar inverter system

