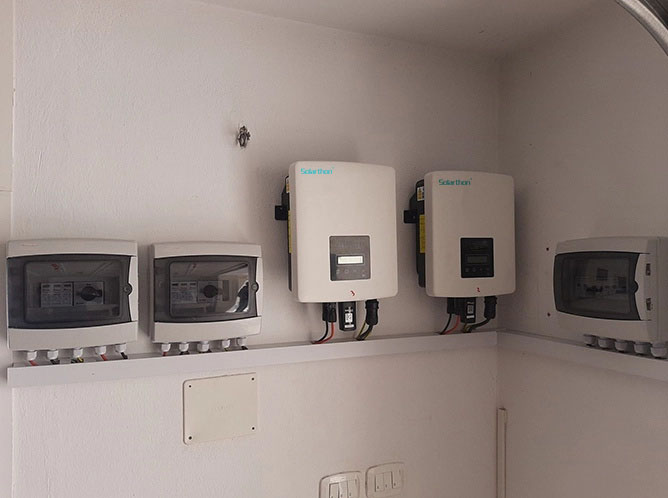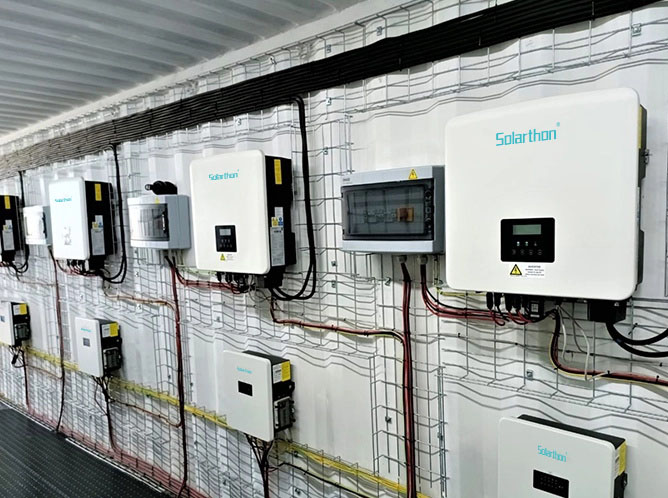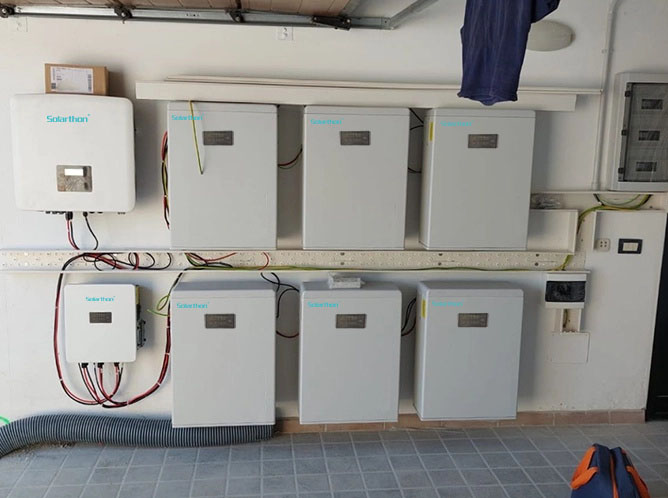
Installing a solar inverter for a RANKTOP solar panel system can be an exciting and rewarding project, especially if you want to harness renewable energy for your home. A solar inverter is an essential component that converts the DC (Direct Current) power generated by solar panels into AC (Alternating Current) power, which is used by household appliances. By following this detailed step-by-step guide, you’ll be able to install the system safely and efficiently.
However, it’s crucial to ensure that you follow each step carefully, as working with electrical systems can be hazardous without the proper knowledge. This guide will take you through the entire process, from preparing your system to final testing.
Step 1: Preparation and Safety Measures
Before diving into the installation, it’s important to prepare and take safety precautions to prevent any electrical accidents.
Tools and Materials You’ll Need:
Solar inverter (choose one compatible with your system size)
Solar panels (already installed)
Mounting brackets for the inverter
DC cables for connecting the panels to the inverter
AC wiring for connecting the inverter to your home’s electrical panel
Electrical tools: Screwdrivers, wire cutters, pliers, multimeter, etc.
Circuit breakers: DC disconnect, AC breaker
Grounding wire
Safety equipment: Gloves, glasses, and insulated tools
Safety First:
Disconnect power sources before starting the installation process.
Make sure to wear protective gloves and safety glasses when working with electrical components.
Ensure that your workspace is dry, and avoid working in wet conditions.

Step 2: Positioning and Mounting the Solar Inverter
Choosing the Right Location:
The inverter should be installed in a cool, dry, and well-ventilated area away from direct sunlight.
The location should be near the solar panels and close to the electrical panel for easier wiring.
Mounting the Inverter:
Use the mounting brackets to attach the inverter to a solid wall.
Leave enough space around the inverter for ventilation (around 6 inches on all sides).
Check the manufacturer’s guidelines for the inverter to ensure it is installed at the recommended height and orientation.
Step 3: Wiring the Solar Panels to the Inverter
Connecting DC Wires:
Begin by connecting the positive and negative DC wires from the solar panels to the inverter. The positive (red) wire from the panels goes to the positive terminal of the inverter, and the negative (black) wire goes to the negative terminal.
Make sure the DC cables are of the correct gauge as recommended by the inverter manufacturer.
Install a DC Disconnect Switch:
Install a DC disconnect switch between the solar panel array and the inverter. This switch will allow you to disconnect the panels from the inverter for maintenance or repairs.
Step 4: Connecting the Inverter to the AC Panel
Turn Off the AC Breaker:
Turn off the main AC breaker in your home’s electrical panel to avoid electrical shock when working with the AC system.
AC Wiring:
Connect the AC output terminals of the inverter to your home’s electrical panel.
You’ll need to connect the live (hot) wire, neutral wire, and ground wire to the corresponding terminals in the electrical panel.
Install an AC Breaker:
Install an AC breaker in your electrical panel for the inverter circuit to ensure protection against overloads or short circuits.
Step 5: Grounding the Inverter
Ground the Inverter:
It is important to ground the inverter to avoid electric shock risks. Use a grounding wire to connect the inverter’s ground terminal to the grounding system of your building.
Check the Grounding:
Use a multimeter to verify that the system is properly grounded and there is no leakage current.
Step 6: Powering Up and Testing the Inverter
Double-Check All Connections:
Inspect all connections carefully to ensure everything is properly secured. Make sure there are no exposed wires or loose connections.
Turn On the DC Disconnect Switch:
First, turn on the DC disconnect to allow the solar panels to send power to the inverter.
Turn On the Inverter:
Power on the inverter. Most modern inverters come with a display screen that shows the operational status of the system, including DC input and AC output.
Check the display to make sure the inverter is receiving input from the solar panels and supplying power to your solar energy system.
Turn On the AC Breaker:
Finally, switch on the AC breaker in your home’s electrical panel. The inverter should now be supplying AC power to your household appliances.
Step 7: Final Checks and Monitoring
Monitor the Inverter Display:
After powering up the system, monitor the inverter’s display to ensure that it is functioning correctly. You should see the DC input from the solar panels and AC output being provided to your home.
Test the System:
Check that your appliances and lights are receiving power. Ensure the system is performing optimally.
Setup Monitoring (Optional):
Many modern inverters come with remote monitoring options. If your inverter has this feature, set it up to track the system’s performance over time.
Conclusion
Installing solar inverter for a DIY solar panel system is a challenging yet achievable task. By following this detailed guide, you can successfully install your inverter and start benefiting from solar power. Remember to take safety seriously, double-check connections, and monitor the system after installation to ensure everything is working smoothly.
solar inverter,solar panels,solar energy system,Installing solar inverter,solar panel system
solar inverter,solar panels,solar energy system,Installing solar inverter,solar panel system
solar inverter,solar panels,solar energy system,Installing solar inverter,solar panel system
solar inverter,solar panels,solar energy system,Installing solar inverter,solar panel system
solar inverter,solar panels,solar energy system,Installing solar inverter,solar panel system
solar inverter,solar panels,solar energy system,Installing solar inverter,solar panel system
solar panels,solar energy system,Installing solar inverter,solar panel system,solar energy system
solar panels,solar energy system,Installing solar inverter,solar panel system,solar energy system

